The 7 most common kitchen cabinet painting mistakes (and how to avoid them)
Kitchen cabinet painting is one of the most effective ways to update the look of your home without the cost and disruption of a full kitchen renovation.
However, achieving a smooth, durable, professional-looking finish requires more than choosing a paint color and applying a few coats.
Many homeowners make mistakes during the preparation and painting process that can affect the final result.
Skipping proper cabinet preparation
One of the biggest mistakes homeowners make is applying paint directly over existing cabinet surfaces without proper preparation.
Kitchen cabinets collect grease, oils, and everyday residue that can prevent paint from bonding correctly.
Before painting, cabinets should be:
- Thoroughly cleaned and degreased
- Sanded to create proper adhesion
- Repaired if there are cracks or imperfections
Proper preparation is what helps create a smooth finish that lasts.
Using the wrong type of paint
Not every paint is designed for kitchen cabinets.
Cabinets experience daily use, including opening, closing, cleaning, and exposure to humidity.
Using standard wall paint can lead to:
- Scratches and peeling
- Stains and discoloration
- Premature wear and tear
Professional cabinet painting requires products designed for durability and frequent contact.
Ignoring the importance of primer
Primer is an important step that many homeowners skip.
A quality primer helps:
- Improve paint adhesion
- Create a more uniform surface
- Block stains and discoloration
- Increase the durability of the finish
Skipping primer may result in uneven coverage and a shorter-lasting paint job.
Painting without removing hardware
Painting around cabinet handles, hinges, and hardware often creates an uneven and less professional appearance.
Removing hardware allows for:
- Cleaner edges
- Better coverage
- A more polished final result
Small details can make a major difference in the overall look of your kitchen.
Applying paint too thickly
Many people believe thicker coats mean better coverage, but this can actually create problems.
Heavy paint application can lead to:
- Drips and runs
- Visible brush marks
- Longer drying times
- Uneven finishes
Professional painters focus on controlled application and multiple thin layers to achieve a smoother result.
Rushing the drying and curing process
Cabinet paint needs time to properly dry and cure before heavy use.
Opening and closing cabinets too soon can cause:
- Surface marks
- Sticking doors
- Damage to the finish
Allowing proper curing time helps protect your investment and maintain the quality of the work.
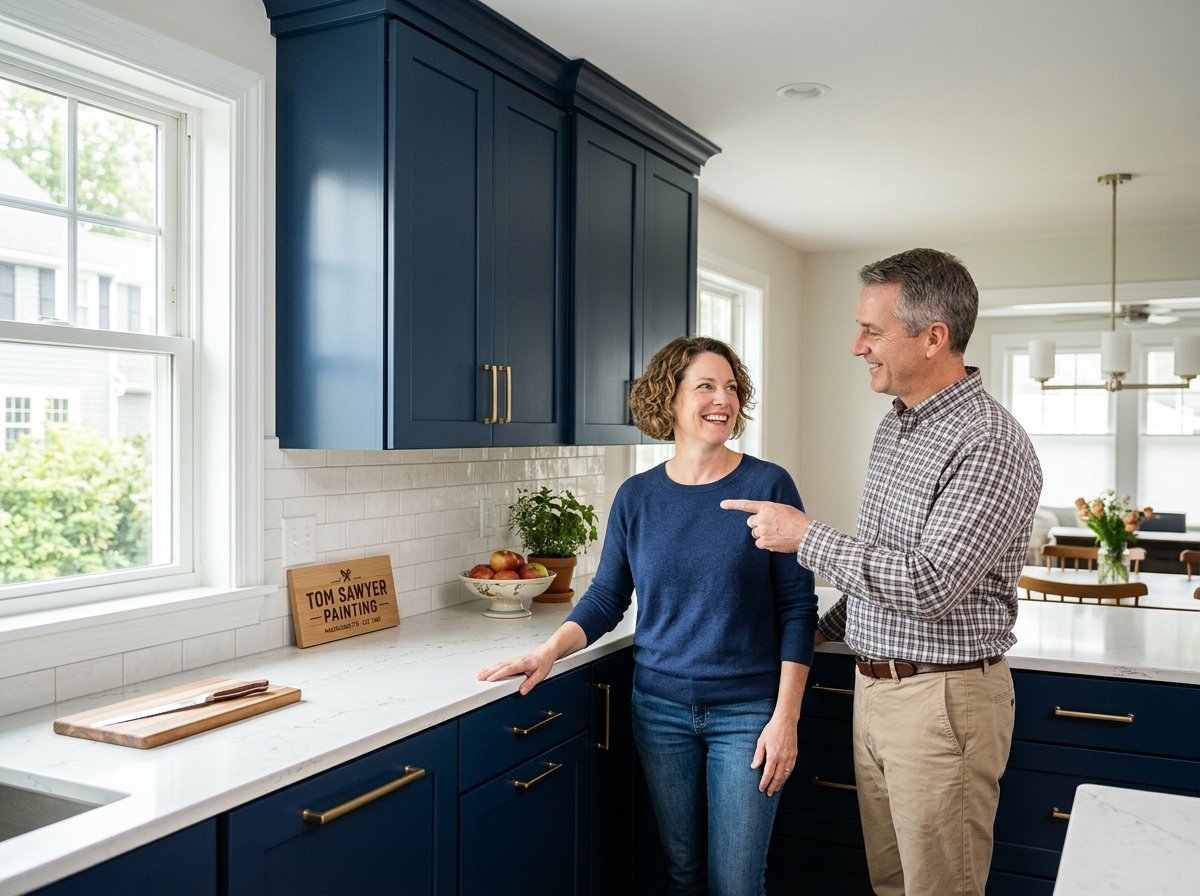
Choosing a color without considering the entire kitchen
Cabinet color should work seamlessly with the rest of the space.
When selecting a shade, it is essential to look at the:
- Countertops and backsplash
- Flooring and wall colors
- Natural and artificial lighting
A professional color approach considers how all elements work together to create a balanced kitchen design.
Professional cabinet painting protects your kitchen investment
Painting kitchen cabinets can completely transform your space, but the quality of the result depends on the process behind it.
A professional team understands:
- How to clean and prep cabinet surfaces safely
- How to select and apply durable, specialized paints
- How to achieve a smooth finish without brush marks
- How to properly handle hardware for a seamless look
At Tom Sawyer Painting, every cabinet project focuses on detailed preparation, quality materials, and careful application to create a durable finish that enhances your home.
With years of experience serving Massachusetts homeowners, the team helps transform outdated kitchens into spaces that feel fresh, functional, and beautiful.